
You Will Need:
- Beanie (I was lucky enough to pick this one up in my New Look AW13 Preview goody bag, but you can get it for £4.99 here)
- Studs (available from eBay here)
- Knife (you'll only need to use the handle, so any kind, preferably blunt!)
How To:
I used exactly the same procedure as I did when customising the dress in my earlier post - it doesn't really get much easier!
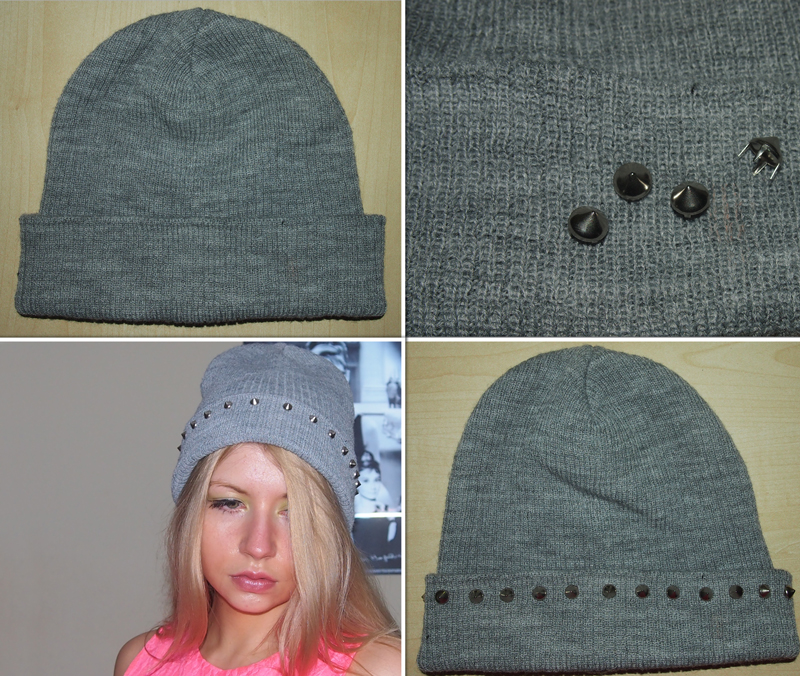
- Decide where to position your studs - the ribs on this beanie are a helpful spacing guide!
- If studding the turn-up, turn hem up to desired level (I kept my studs fairly close to the edge so that I could vary the width of my turn-up). Make sure your folding is fairly even!
- One at a time, fix studs in desired positions by simply pushing their four "legs" through the fabric. Partially flip the turn-up back over so that you can press the legs down and in on the underside to secure. Use a knife handle to save your fingers the stress (or anything else you have to hand - I used a plundered gift card which was lying around after falling victim to an earlier online spree!).
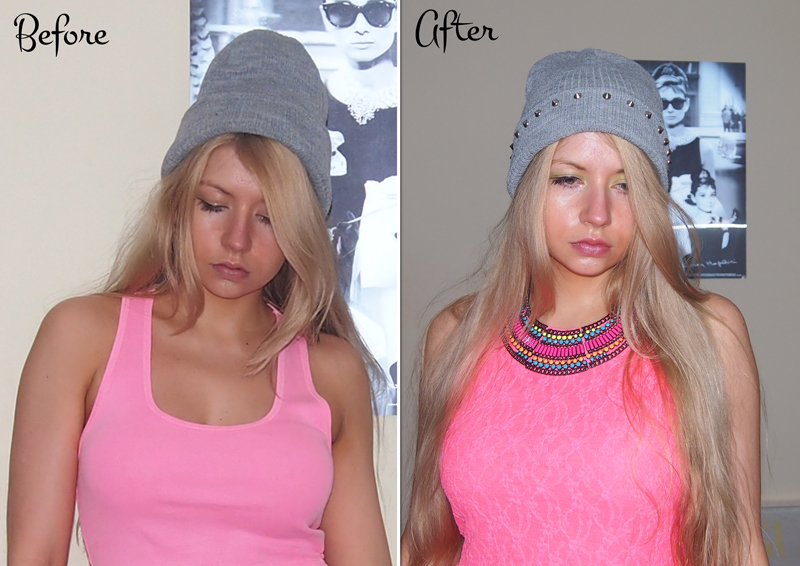
Such a simple yet satisfying way to give pretty much anything a facelift... and I just noticed these neon versions - oooooh... Have you got your stud on yet?


No comments:
Post a Comment